
Auto blogging is the name of generating content without any manual writing or adding content without writing manually. In this complete guide, I will try to give you a complete guide on how to create an auto blogging website using chatgpt.
Basically, chatgpt can be integrated with WordPress via API key, which means you can enjoy your chatgpt playground via the WordPress dashboard.
Table of Contents
There are a few basic steps to create an amazing auto blogging website using chatgpt. I already created a YouTube video tutorial, so you can watch it carefully and create your website.
As if you are a beginner, You need to learn how to install WordPress in your hosting account. If you already installed WordPress you can skip this step.
You can watch the video above to see how to install WordPress in your hosting account.

WordPress comes with its default settings, we need to do some basic settings to do the auto blogging website possible.
Steps you need to follow.
For auto blogging website creation there are a few plugins that I’ve used in my Tutorial, that you must use in your website. You can watch the tutorial completely on how you can install these plugins carefully.
You need to watch the video carefully to install the plugins. I’ve given a complete guide in the video on how you can install it.
After installing AI Engine plugin you can easily connect chatGPT to WordPress via API key. This is the very important part, without adding an API key you can not generate content with chatgpt and WordPress. So, you need to keep in mind that solution.

Now you need to create categories for your blogs, which means you need to create categories for your blog posts. The blog posts that you need to create.
For example, if my Niche is WordPress, then I can create blog categories WordPress, Plugins, Themes, Elementor, and so on. So, in this way, you need to create categories according to your niche.

Steps to Create Categories
In this way, you can add unlimited categories as you need.
Now you need to generate article titles with ChatGPT. Go to your chatgpt playground and generate at least 10 titles for your blog posts. You can create unlimited but I suggest you to create 10 at least.

In the above screenshot, I gave the Promt to give me 10 gift ideas for girl friend. So, chatgpt gave me some results.
Just like that, you need to generate titles according to your niche.
Now, we are finally reached on the point where we are going to generate our articles with chatgpt.

Now, your first AI content is ready.
Important: Read How to Create an SEO-Optimized Post with ChatGPT
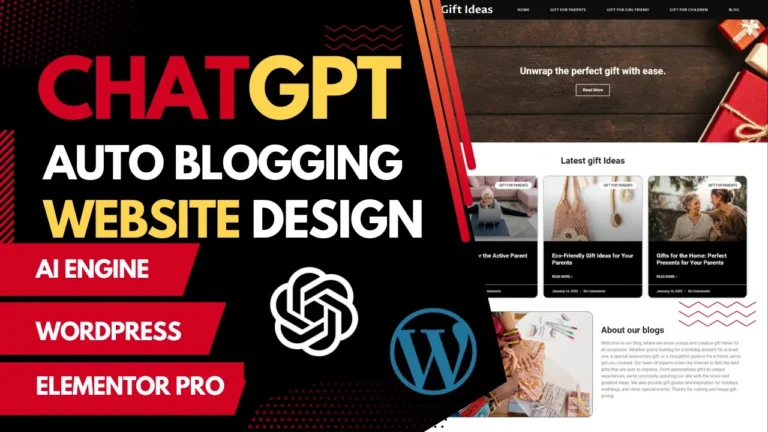
Now this is final part, you can watch the video tutorial to design your website post template, category template, homepage and other necessary pages.
Must watch the video, all the design parts can not be written here, you can watch the video tutorial carefully and learn about the design part. After watching the video you can easily design a website without any other help.